This weekend I have to work on Sunday! So Saturday is bake day. I’ve put together a long autolyze version of the sourdough recipe with:
290g AP Flour (10g less than last bake)
35g Stone-ground Rye flour (10g more than last bake)
120g Stone-ground Wheat flour (same as last bake, but this is the Arrowhead pre-milled instead of the fresh milled wheat berries).
5g gluten powder
300g water at 85ºF mixed into 94-ish g of ripe starter
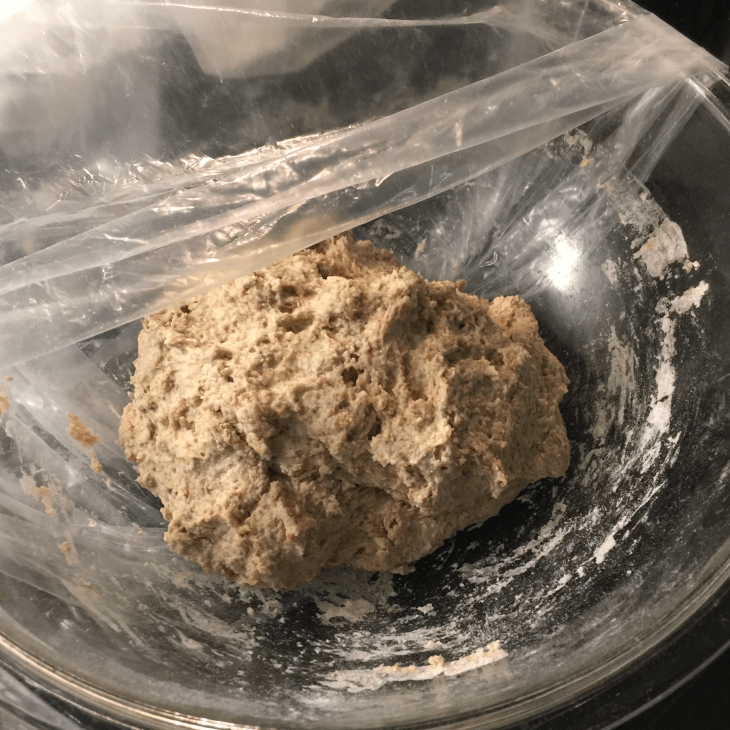
Mixed together with my Danish dough whisk (which I wrote a little about in the linked post) until combined, and finished working the rest of the dry ingredients in with my hands.

It sat out on the counter autolyzing until bedtime then went in the fridge after 4 hours.
It will autolyze in the fridge until this afternoon, when I’ll take it out let it warm up a bit then add 20g of warm (about 90ºF) water,* 9-10g salt, fold this into the dough, then start the folding, making at least six folds probably 10-15 minutes apart (see note below, this is a change in technique), then let it ferment again in the fridge until Saturday morning.
I am curious to see if this slight variation does anything to the texture or the rise. I have been getting pretty consistent results despite variations in the strategies, and want to gently push up the whole grain content in 10g increments to see what it needs to get the whole grain to rise more and take on a little more sourdough flavor. Hoping the extended autolyze, better folding technique, and overnight bulk ferment does the trick!
*More changes to my plan! I just found another site on sourdough bread that gives me a clue that my strategy is somewhat intuitively right. While I like the texture I’ve been getting from my current strategies, a less open crumb that keeps butter from running all over the place when the bread is toasted, I always felt that the look and taste of a really well made sourdough loaf was better than what I’ve been able to make so far.
The site is Breadwerx and it has some tips for bakers with “intermediate” skills for learning how to bake good sourdough bread – which is exactly where I feel I am in my learning curve. While the information at this site doesn’t negate what I found at The Perfect Loaf, it does give some pointers for intermediate bakers who are having problems producing a bread (from a high-hydration dough) with a more-open crumb. The focus in the article referenced above is on the hand skills needed to get an open crumb.
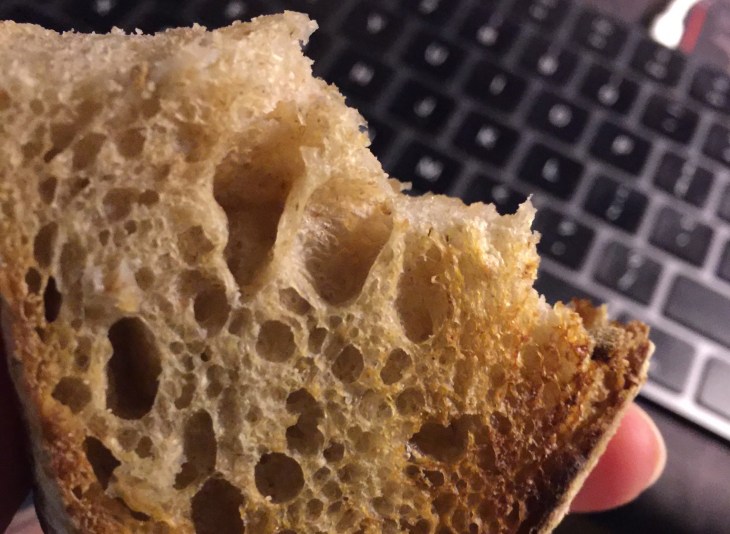
I can create a perfectly edible and delicious loaf of bread, but have only once achieved what looks like a nice open-crumb sourdough with more obvious sourdough flavor. The close-to-perfect loaf below nearly escaped being captured in an image before being completely consumed, but looked like:
While I could follow my original technique, which would likely result in a loaf with the same texture I seem to achieve regularly – a good crumb and decent flavor – I am going to adopt the advice from the post linked above into my folding.
While it is too late to leave the starter out and add the salt into the dry ingredients – (in the post, the starter is added after a first long autolyze of dry ingredients, salt, and 290g of water) I am going to leave out the extra water that would go in with the salt, as I have already hydrated the ingredients over what the Breadwerx author recommended and sticky, wet dough has been a little hard to gently work in the folding stages. After gently incorporating the salt into the dough, I am going to try to improve my hand skills by following the advice at Breadwerx – and see if I can do a series of slightly gentler folds, allowing less rest time between them, to get the dough into better shape.
Given that I’ve already started along a slightly different track on the current loaf, it will be interesting to see how this affects the openness of the crumb. The folding will happen tonight, before the second proofing which will still be done overnight in the fridge.
The second change will be to decrease the baking temp to 450º – which is a direction that I was thinking about based on my first combo cooker bake. Although the loaf was pretty, it browned more than I like, and I think the temperature reduction will fix this.
The results:


I folded the dough probably 10x over four hours to make sure the salt was distributed and – trying to be gentle – keep some “loft”. As I wrote above, I put the dough in the banneton and in the fridge about 9 PM and took it out this morning as the oven heated to 450ºF. Oven heated for a good hour before I turned the dough out on parchment and slashed it, using the scissor slashes this time 7 on each side meeting at the banneton seam line. I am loving the easy slide of the dough onto the combo cooker griddle/top, so much easier than the deep dutch oven I was using previously.
Baked at the reduced 450º temp, 30 minutes with the dutch oven closed, the last 15 with it removed. Internal temperature when removed from the oven was 211º F.
Results of all that folding and fussing are not much different from my usual bake! I know the proportion of whole grain wheat and rye flour make a difference in the loft, so wasn’t expecting a massive oven spring, but this is actually less open than I expected. Perhaps not having the salt added with the dry ingredients made the dough work differently. Maybe I didn’t let the bulk ferment go long enough (maybe 1-2 hours more would’ve helped) or maybe the whole grain content is just always going to be less lofty… or maybe the 10g water difference made the dough just that much harder to work and I accidentally knocked too much “air” out of it during the folds. All are possibilities.
That doesn’t mean the loaf is a failure – the texture is good, the crust is crispy and thin, and the flavor is fine – better than the last loaf I baked (yay for upward trends!). As soon as the loaf cooled enough to “gel” a bit and not gum up the knife when sliced open, I had my first piece of toast and noticed the little addition of 10g more Rye flour gave it a distinct Rye flavor. The long autolyze and bulk fermentation definitely boosted the sourdough “tang” too. It’s just not one of those open-crumb loaves that I imagined producing!
The sourdough flavor should become a little stronger over the next few days (if the loaf lasts that long… it’s pretty darned tasty).
More bakes and more experiments to come. I may repeat this recipe using the same dry ingredient ratio and 10g less water, and instructions from the Breadwerx site, next week.
